You can use the Equipment Editor to link a genie to an equipment type. This can help simplify the process of creating graphics pages for your project, as you are able to deploy multiple equipment instances as genies from within the Equipment Editor's equipment hierarchy.
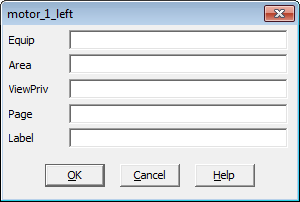
You may want to use the following genie to represent multiple instances of a motor on your graphics pages.

If you were to add multiple instances of the genie to a graphics page, you would have to manually configure the following properties for each copy.

If you were to link the genie to an equipment type, you could deploy the genie from within the Equipment Editor. Any genie properties that are defined within the equipment type will be pre-configured in each pasted genie.
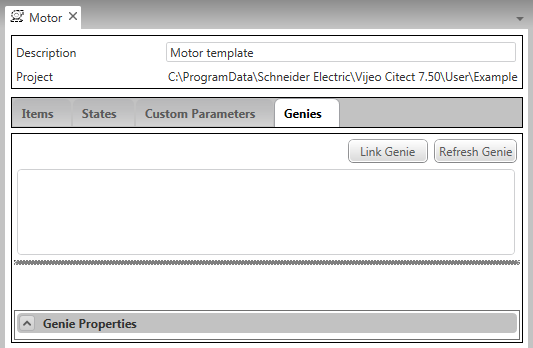
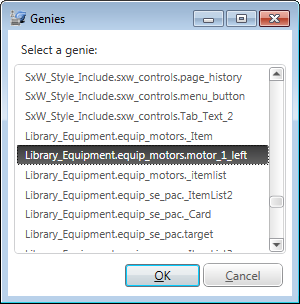
To configure the link to a genie:


<Project name>.<Library name>.<Genie name>
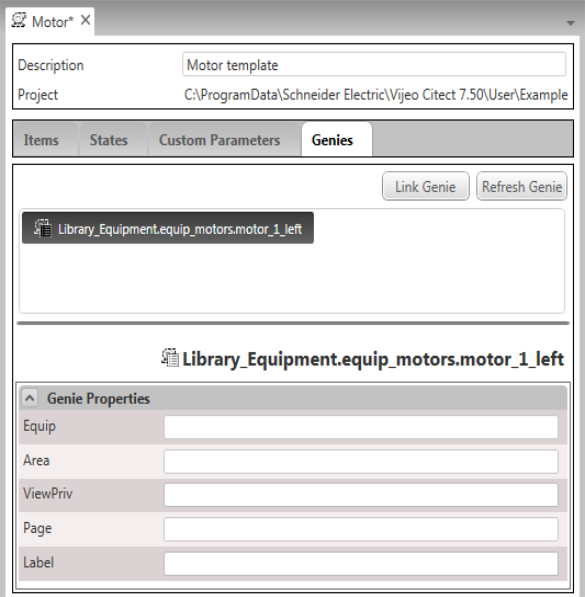
The selected genie will appear on the Genies tab for the equipment type to which it is now linked. The associated Genie Properties will also appear.

The values you enter will be passed through to each associated equipment instance, and will be retained by the genie when it is pasted on to a graphics page.
If a linked genie has been modified in Graphics Builder, you can use the Refresh Genie button to update the Genie Properties.
Note: You can only associate one genie with an equipment type.
To change the genie that is linked to an equipment type:
Or:
On the Genies tab, right-click on the current genie and select Edit.
Or:
Select the current genie and press the F2 key.
<Project name>.<Library name>.<Genie name>.
Note: If the specified genie does not exist in the main project or one of its included projects, the genie will display a red border. This indicates that the current genie name is invalid.
See Also
Published June 2018