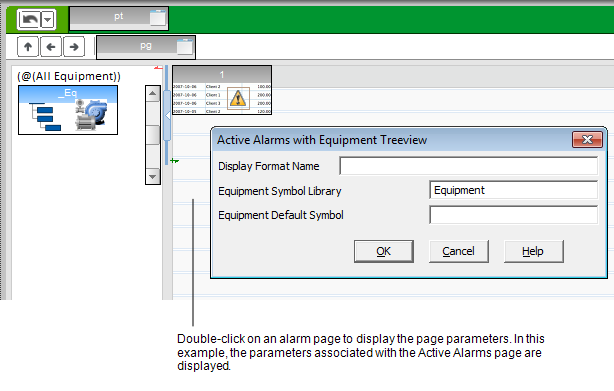
If you would like to customize the content included in each of the table columns on an alarm page, you can configure a new display format using Alarm Format Fields.
To do this, you use the parameter
Note: If you create a customized alarm display format for a page, be aware that the arrangement of columns may only be temporary. An operator will be able to rearrange the columns at runtime, and their changes will be restored each time they log in.
To associate a customized alarm display format with an alarm page:

Note: The Hardware Alarm page does not display alarms in a table. To modify the alarm display format for a Hardware Alarms page, use the techniques described in the topic Format Alarms in a Standard Project.
You can also use the following parameters to globally customize the alarm pages in a starter project:
Advanced users may also use the
See Also
Published June 2018