Manually Set a State Change
When override mode is enabled for a piece of equipment, you can manually apply state changes to the equipment (and the equipment levels beneath it).
To manually set state changes to equipment in override mode:
- Open Scheduler in the runtime environment.
- In the equipment tree, locate the equipment to which you would like to manually apply a state change.
If the equipment is in override mode a small hand will appear on the icon to the left. In the example below, "Level1" is in override mode.
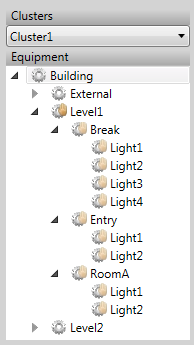
If this is not the case, follow the procedure described in Enable Override Mode to place the equipment into override mode.
- Right click on the branch and select Set to State. The Set To State dialog will appear.
- In the State field, select the equipment state you would like to implement. The drop-down menu to the right if the field includes a list of the equipment states that are configured for the selected piece of equipment.
- Click OK.
Note: Equipment state changes are propagated down the equipment hierarchy to the equipment that has inherited override mode. If required, you can counteract a state specified by an inherited override by implementing another override at the level where you would like a different state to be set.
Published June 2018