Customize the Logo on the Header Bar
The default header bar for a Situational Awareness project comes with a Citect SCADA logo. This logo can be changed.
Note: The logo you use needs to be a bitmap.
To customize the logo:
- Open Graphics Builder.
-
On the File menu, select New.
Or:
Select the New button.

- The New Dialog box is displayed.
- On the New dialog box, click Symbol.
- On the File menu, select Import.
- From the Import Dialog Box, locate the logo you want to use and click Open.
- The logo is placed onto the symbol page. Position the logo so that the anchor point is at the bottom right corner.
Note: If you create a new logo using the drawing tools in Graphics Builder, before saving the symbol you need to select all of the objects and select Convert to Bitmap from the Tools menu.
The symbol used by the logo should only contain one bitmap object.
- Save the symbol, for example, in the "sa_include" project and the "sa_workspace" library.
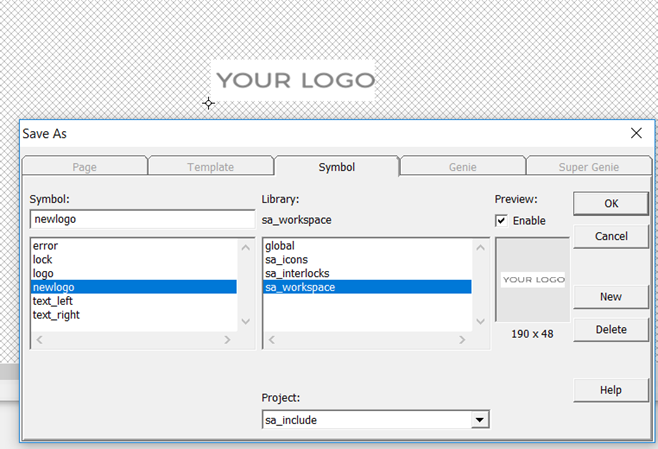
- Click OK.
- In Citect Studio, go to the Project activity and select Home.
- From the Command Bar, go to the drop-down next to the Setup Wizard and select Setup Editor.
- In the Parameter Details section of theSetup Editor, enter the following:
- Section: Page
- Parameter: Logo
- Value: <libraryname>.<logoname>
For example, "sa_workspace.newlogo".
- Click Add.
- Save the changes to the INI file.
- Compile and run the project.

See also
Published June 2018